In this guide, you’ll discover how to migrate to WordPress without downtime using Hostinger’s hPanel, robust plugins (Duplicator, Migrate Guru) and smart DNS switching—keeping your site live, safeguarding SEO and maximising uptime, plus a 20 % Hostinger discount (code below).
Table of Contents
Risks of Downtime
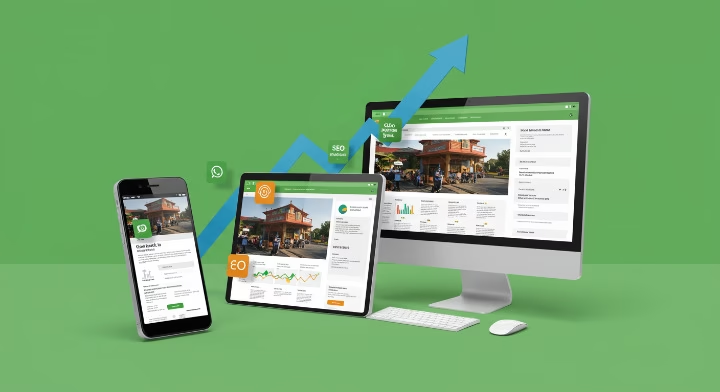
Even brief outages can cost hundreds per minute in lost sales and damage SEO rankings—Pingdom estimates small businesses lose $137–$427 per minute during downtime (Hostinger). Hostinger guarantees 99.9 % uptime to minimise interruptions and preserve your online reputation (Hostinger).
Pre‑Migration Preparation
- Full Backup & Rollback Plan
- Export your site files and database via hPanel’s Backups section, storing copies off‑site (e.g. Google Drive).
- Document PHP/MySQL versions, active theme and plugins.
- Migration Checklist
- Note any custom code or redirects.
- Ensure SSL certificates are ready to re‑install.
Staging Environment Setup
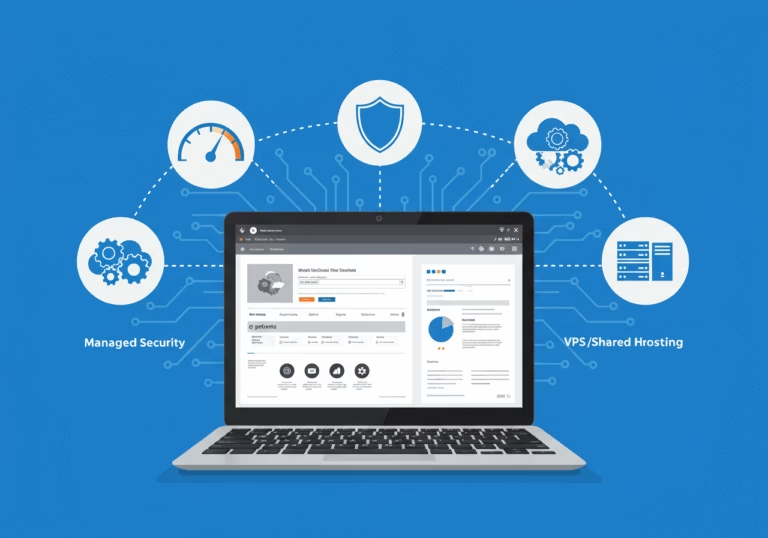
Hostinger’s hPanel offers a one‑click staging tool for Business‑tier and above plans—no plugins required (Hostinger Help Centre).
- In hPanel, go to Websites → Manage → Staging and click Create staging, then name your subdomain and wait minutes for setup (Hostinger).
- Use Manage staging to access and test changes before going live, ensuring your production site remains unaffected.
Content & Database Transfer
Duplicator (Lite & Pro)
Duplicator packages your files and database into a single installer archive, enabling one‑click migrations with zero expected downtime (WordPress.org). Its Recovery Points feature also offers instant rollback if needed (Duplicator).
Migrate Guru (Zero‑Downtime)
Migrate Guru offloads migration tasks to its own servers, handling sites up to 200 GB without overloading yours (WordPress.org). Install on your source site, select Hostinger as the destination and click Migrate—your live site remains online throughout.
DNS & Nameserver Switch
Hostinger recommends updating your domain’s A record or nameservers to point at Hostinger first, then cancelling your old host once propagation completes (24–72 hours) . This “move first, cancel later” strategy ensures uninterrupted service during the DNS switchover.
Final Testing & Go‑Live
- Verify Links & Forms: Click through pages and submission forms on your staging site.
- SSL Check: Confirm HTTPS is enforced.
- Performance Audit: Run a speed test (e.g. GTmetrix) to compare before/after metrics.
Post‑Migration Checklist
- Submit New Sitemap: Generate an updated XML sitemap and submit it in Google Search Console .
- Notify Site Move: Use Search Console’s Change of Address tool if your domain changed.
- Monitor Analytics: Watch for 404 errors or traffic drops and address swiftly.
Special Hostinger Offer

Enjoy
20% Off
any hosting, VPS or email plan of 12 months+ (and any 1‑month Horizons plan)
Not valid for domain‑related services.